Introduction
This document describes the upgrade process to the latest Variphy release.
Before Getting Started…
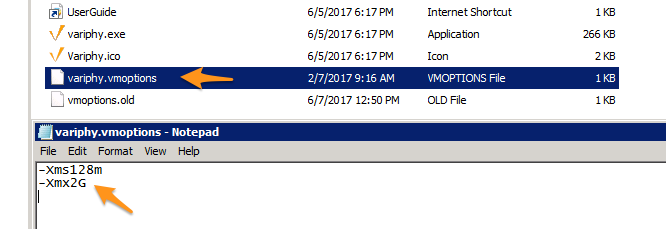
Variphy version 12 and beyond require a minimum of 8GB of memory, older systems that have been upgraded may have less memory allocated to the application. It is recommended that you confirm the value in the variphy.vmoptions configuration file. The file can be found in the root installation directory of Insight, e.g. “C:\Program Files\Variphy Insight\variphy.vmoptions” or “/opt/variphy/apps/insight/variphy.vmoptions” the “-Xmx” value should be no less than 8G: (Older installations the file might be found in /opt/variphy/apps/insight)
On Windows
On OVA/Linux

How To Upgrade Variphy
Step 1) Download the latest release of Variphy specific to your OS at -https://www.variphy.com/support/download
For Windows and Mac OS X installations we recommend downloading directly from the server where Variphy is installed.
Step 2) Follow the specific instructions per your operation system:
Variphy OVA/Linux
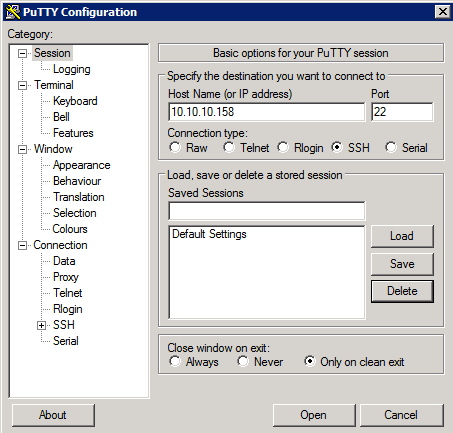
For the Variphy Insight Virtual Appliance deployed via OVA and any other Linux installations you will need to download the file to your workstation and then transfer the installer to your Linux server. Use an (S)FTP client to connect to your Linux server. If connecting to the Variphy Insight Virtual Appliance use port 22 and default credentials of Username: variphyadmin | Password: V@riphy!!

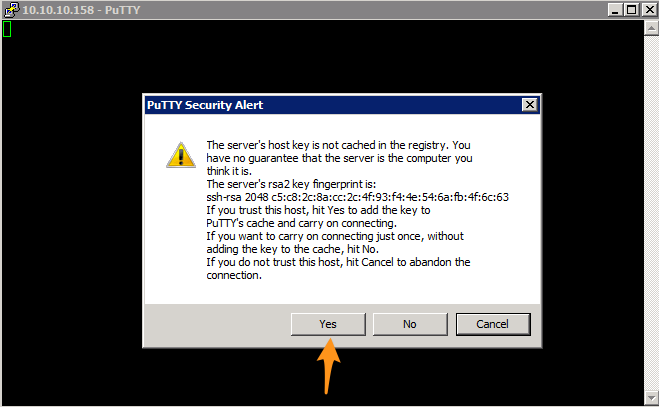
After the file transfer completes connect to the Linux server via an SSH client.
If prompted trust the server’s RSA Key Fingerprint.
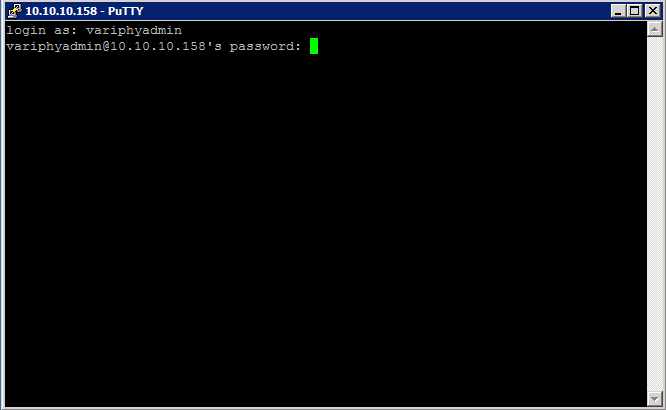
If connecting to the Variphy Insight Virtual Appliance the default credentials are Username: variphyadmin | Password: V@riphy!!
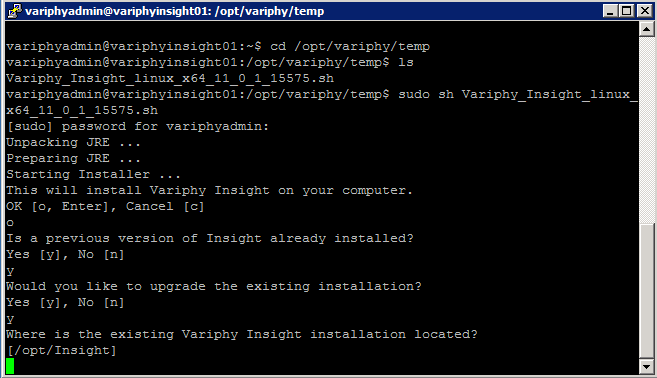
Change directory to location where installer was transferred to, e.g. /opt/variphy/temp/
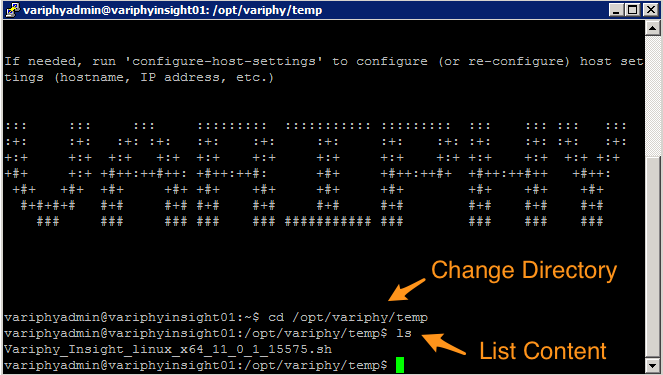
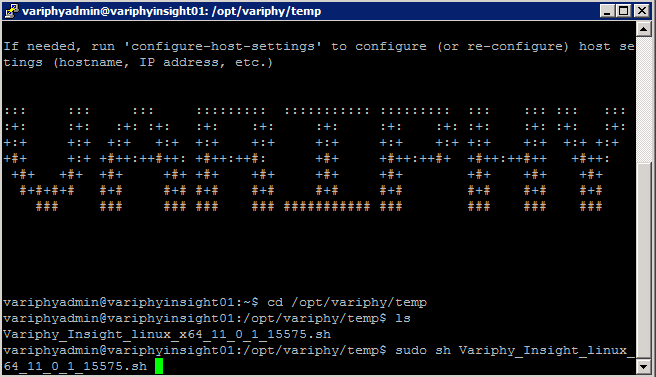
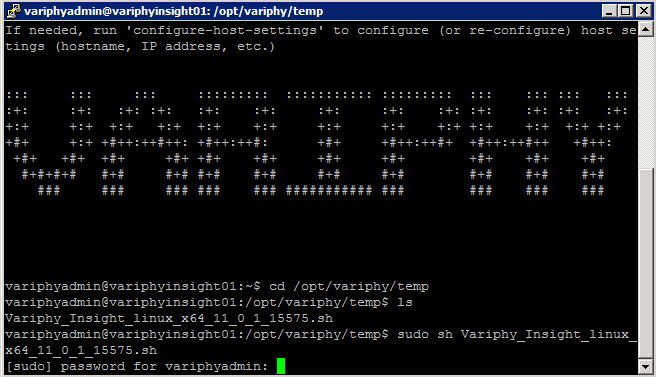
Run installer: sudo sh %Variphy_Insight_linux% (Make sure to run in sudo mode so root privilege is applied)
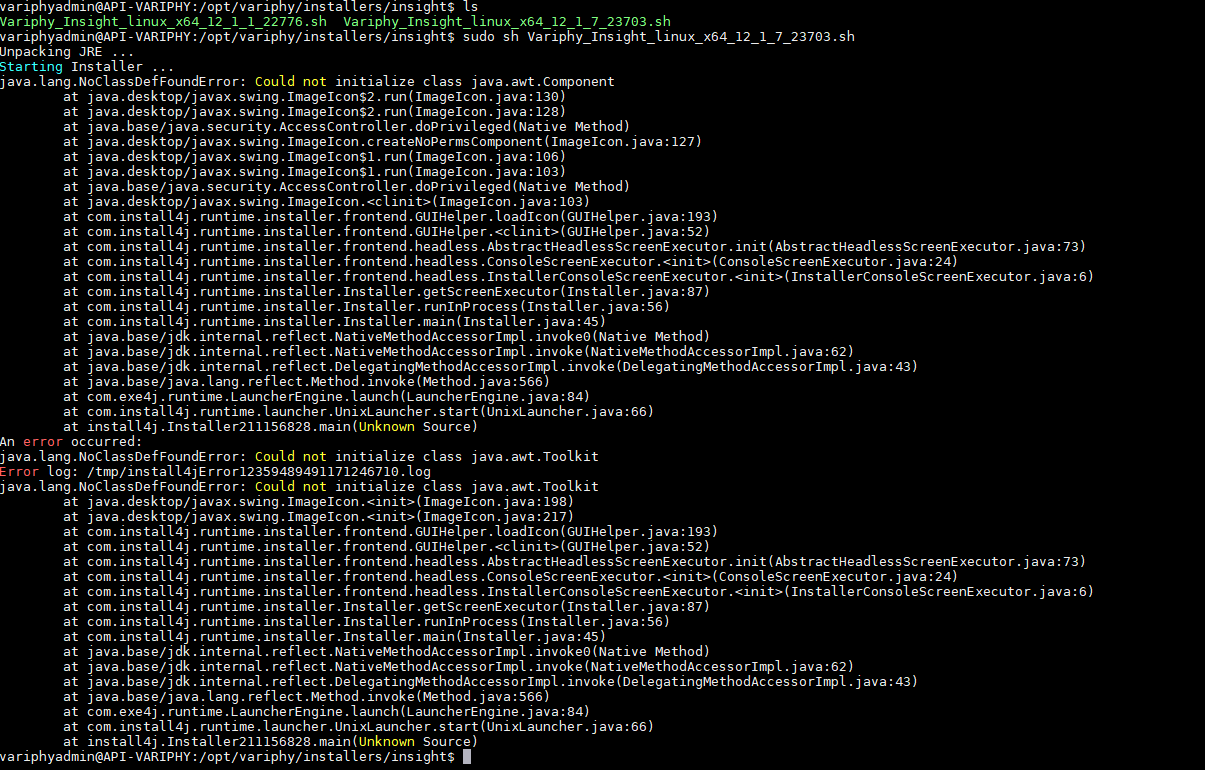
**NOTE** In some cases you may want to run the installer with a ‘-c’ contraint at the end if you get the following error. sudo sh %Variphy_Insight_linux% -c
When installer is successfully executed, it will look similar to the below images.
Type “o” and press the [Enter Key] to confirm installation of Insight.Type “y” and press the [Enter Key] to confirm a pervious version of Insight is installed.Type “y” and press the [Enter Key] to upgrade the existing installation. Specify the correct location of Insight. The default installation for the Variphy Insight Virtual Appliance is /opt/Insight but will default to your installed directory path.
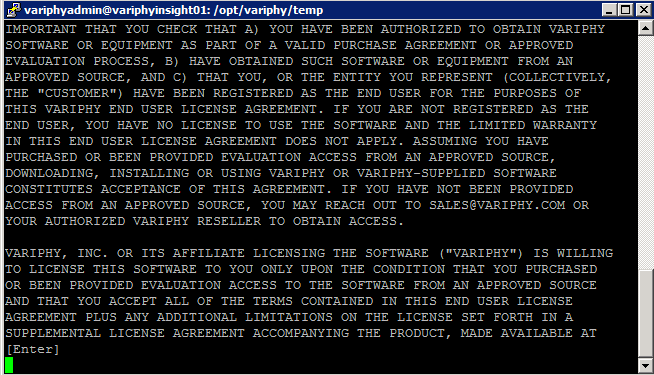
Press the [Enter Key] to scroll through and Type “1” and press the [Enter Key] to accept the End User License Agreement.
The upgrade will query current CDR databases installed and check status for schema update and perform schema updates if necessary.
Type “y” and press the [Enter Key] if you would like to enable HTTP access to server.
Press the [Enter Key] to accept the default port values or adjust HTTP port as needed.
Type “y” and press the [Enter Key] if you would like to enable HTTPS access to server.
Press the [Enter Key] to accept the default port values or adjust HTTP port as needed.
Press the [Enter Key] to accept the default port value for the Variphy Insight H2 database port.
Press the [Enter Key] to accept the default port value for Tomcat Shutdown.
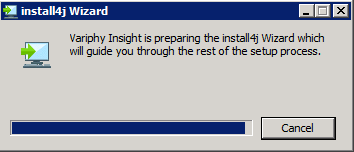
Wait for the installer to finish.

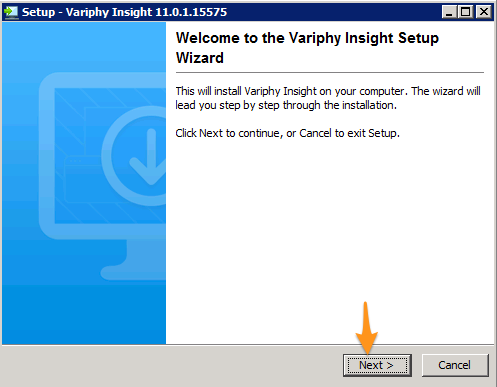
Windows and Mac OS X
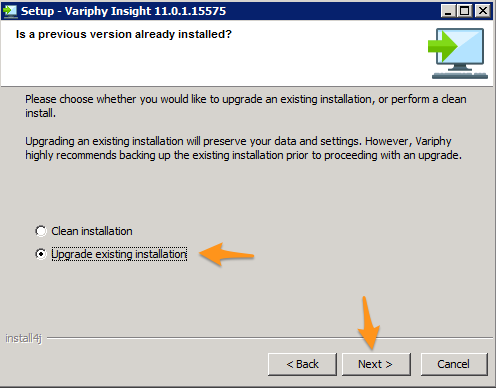
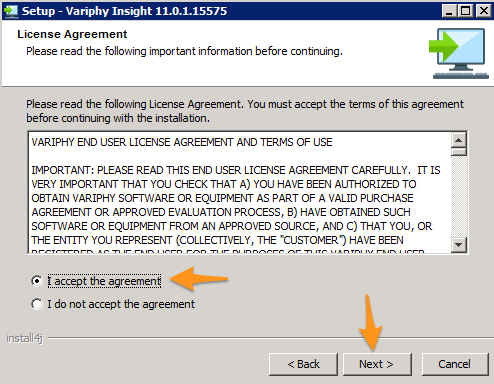
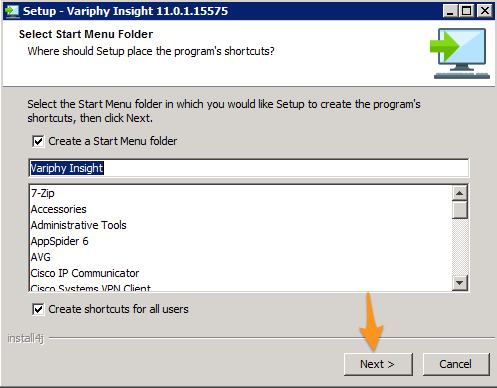
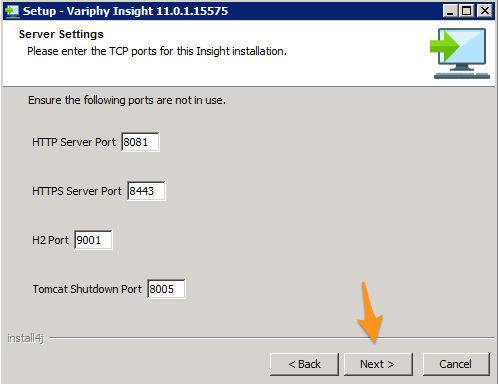
Run the installer as an Administrator directly from the Windows Server and follow the installation prompt.

Once complete, you can verify your current version from the Variphy login page.