Applies to:
- IT Administrators deploying Variphy Insight Virtual Appliance on virtual environments like VMware or Oracle VirtualBox.
- Variphy users managing CUCM analytics infrastructure.
- Organizations setting up new Variphy environments.
Common Causes or Issues
- When deploying Variphy for the first time in a virtualized environment.
- When upgrading or replacing existing Variphy deployments.
- To ensure proper setup of configurations such as hostname, network, and services.
Video Walkthrough
We’ve provided a video with step-by-step deployment instructions on our YouTube channel.
How to Deploy the Variphy OVA Virtual Appliance
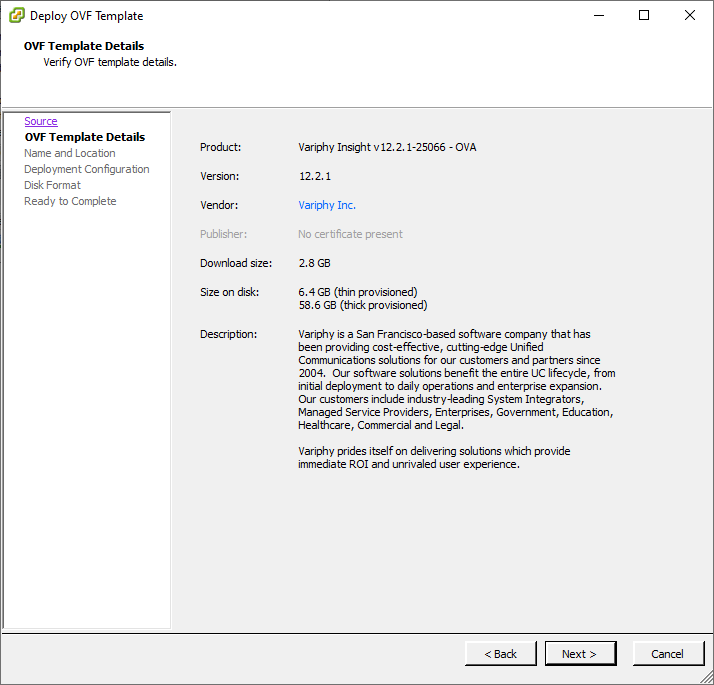
This guide outlines how to deploy and run the Variphy Insight Virtual Appliance (VIVA), which is a Linux VM image in OVF format bundled with Tomcat, OpenSSH, and a database on Ubuntu Server.
Prerequisites:
- 64-bit host machine and OS
- Review Variphy CUCM Prerequisites
- Download the latest Variphy OVA: https://www.variphy.com/support/download

Supported Platforms:
- VMware vSphere/ESXi/ESX 4.x+
- Workstation 6.5.x – 7.x
- Fusion 2.x – 3.x |Fusion 2.x
- Player 3.x
- Server 2.x
- Oracle VM VirtualBox
Note: ESXi is required for using Deployment Options (Small, Standard, Large, Extra Large). Unsupported hosts default to Standard.
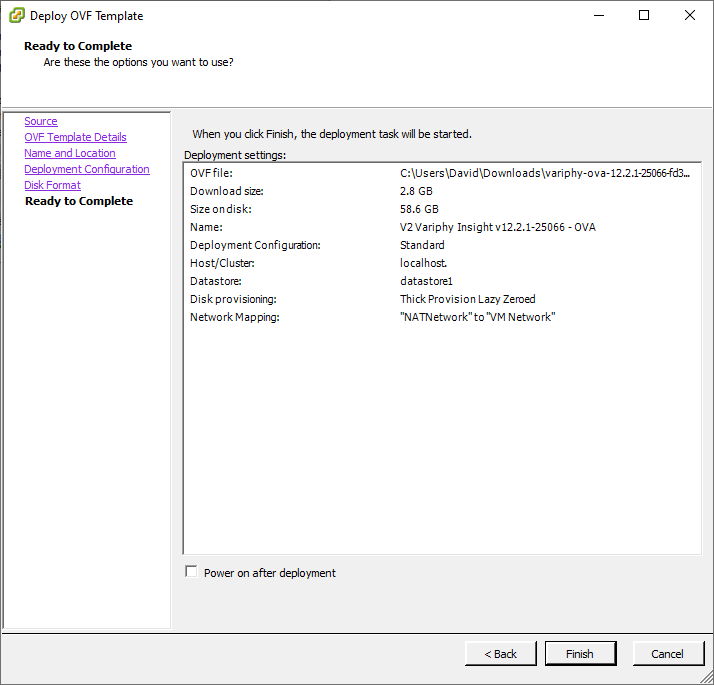
Deploying the Variphy OVA on vSphere/ESX
1. Extract the OVA Package.
Unzip the downloaded file to access the .ovf and other VM components.
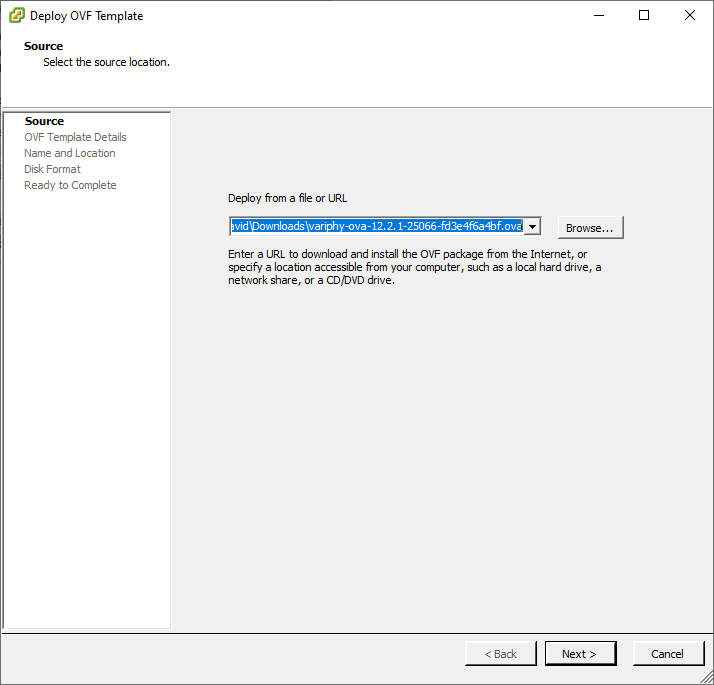
2. Open vSphere Client.
Navigate to File > Deploy OVF Template.
3. Select the OVF File.
Browse to the extracted .ovf file and select it.
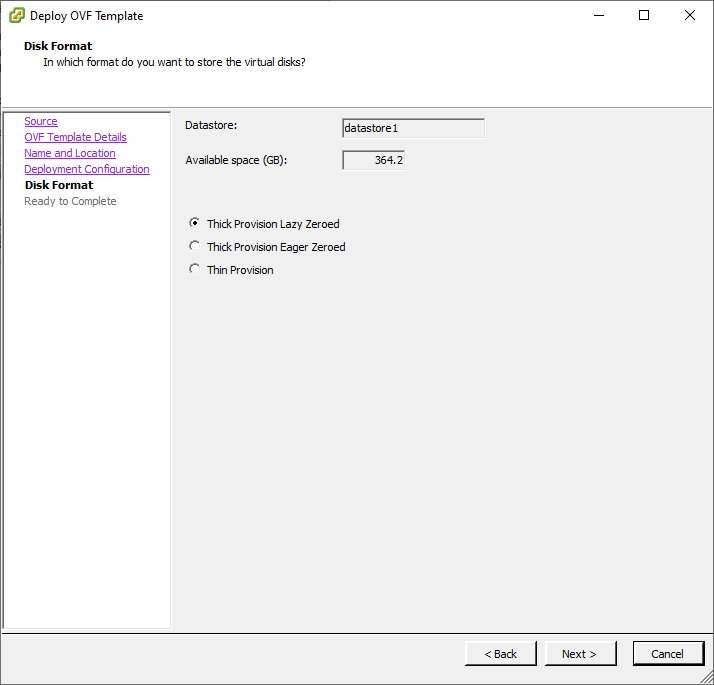
4. Set Disk Format.
Choose Thick Provision Lazy Zeroed when prompted during the deployment process.
Deploying on Oracle VirtualBox
1. Launch VirtualBox and Start Import.
Open Oracle VM VirtualBox and go to File > Import Appliance.
2. Choose the OVA File.
Select the downloaded .ova file and proceed.
3. Reinitialize Network Cards.
Check Reinitialize the MAC address of all network cards and click Import.
4. Locate the Imported Appliance.
Once imported, find VariphyInsight in the VirtualBox Manager.
5. Configure Network Mode.
Choose:
- NAT Mode to use Variphy locally only.
6. Start the Virtual Machine.
In the left pane of the Oracle VM VirtualBox Manager, select VariphyInsight and click Start.
When the machine is finished starting, the VirtualBoxVM console (labeled VairiphyInsight) appears and displays a Linux login prompt.
Logging in to the Virtual Machine
1. Access the Console.
Use the VirtualBox console to reach the Linux login prompt.
2. Enter Default Credentials.
Log in using:
- Username: variphyadmin
- Password: V@riphy!!
3. Reset Password.
You’ll be prompted to re-enter and change your password.
4. Configure System Settings.
Follow the setup wizard to define:
- Hostname.
- NTP Server.
- Time Zone.
- Network Settings.
Please read each step completely. Use the Tab or arrow keys to navigate and Enter key to make a selection. If you make a mistake, proceed to the next step until you are asked to confirm if your settings were entered correctly.
To re-run the configuration script to change settings, run the command line:
configure-host-settingsLogging in to Variphy Web Interface
1. Open a Browser.
Go to:
- http://x.x.x.x:8080 or
- https://x.x.x.x:8443
Replace x.x.x.x with the VM’s IP address.
2. Use Default Login.
- Username: Admin
- Password: Admin
Managing Variphy Services
To startup or shutdown Variphy, run the following command from the installation directory. For example, sudo systemctl stop variphy will stop the Variphy application.
1. Check Service Status.
sudo systemctl status mysqlsudo systemctl status variphy2. Start Services.
sudo systemctl start mysqlsudo systemctl start variphy3. Stop Services.
sudo systemctl stop mysqlsudo systemctl stop variphy4. Restart Services.
sudo systemctl restart mysqlsudo systemctl restart variphyDefault Directories
Insight Installation:
/opt/insight
CDR FTP Directories:
/opt/variphy/data/cluster1/cdr/
/opt/variphy/data/cluster2/cdr/
/opt/variphy/data/cluster3/cdr/
Audit Log Directories:
/opt/variphy/data/cluster1/logs/
/opt/variphy/data/cluster2/logs/
/opt/variphy/data/cluster3/logs/Still Need Help?
Email our support team at support@variphy.com or click the button below to access our ticket portal.
Please provide details about your question or issue, including any applicable screenshots, reports, or Variphy application log files.