Variphy supports multiple database engines. By default the Variphy OVA is configured to utilize the local database engine but you may wish to change that to a different database engine.
The following article will walk you through how to configure a connection to database engine and apply that configuration to the Variphy Cluster.
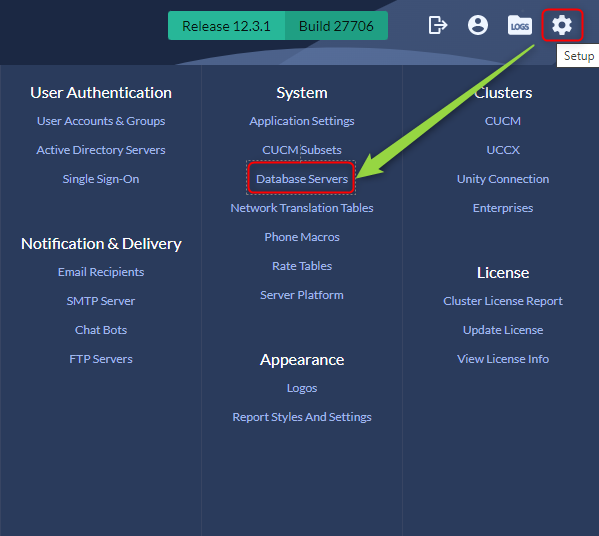
- Navigate to System Settings Gear –>System –>Database Servers:
- Click Add to add a new Database server.

Configuring your Server
For the purposes of Creating the Database along with reading, writing and deleting information the authenticated user will require db create, read and write access.
- Give your Configuration a name. (This name will be used in the Cluster Configuration)
- Select the appropriate Database Server Type
- Complete the configurations based on your Database type and environmental requirements.
- Save your changes.
Appling the configuration to your Variphy Cluster
- Navigate to the System Setting Gear -> Clusters -> Select the appropriate cluster type (CUCM, CUBE Etc..)
- Edit the Cluster you wish to have use the new SQL Server Configuration.
- Navigate to the Database Settings section.
- Select your Database Server from the drop down
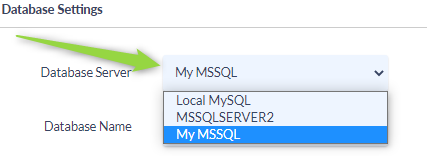
- Name your database

- Save your Changes
- Activate your Cluster
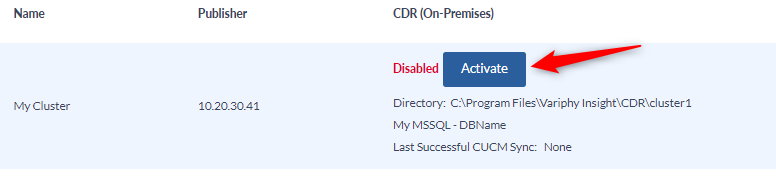
- Navigate the prompts to Create the new database.