This article assumes that Variphy has already been deployed either with a standalone installer or via the Variphy Virtual Appliance (VIVA). This guide will show you how to configure general settings to ensure basic access and functionality.
It is also assumed that all CUCM Prerequisites have been completed.
We have provided a video with deployment instructions via our Youtube channel, which you can view here, or you may continue reading the steps below in the article
Let’s Start By Connecting to Variphy
Enter the Variphy login URL in your browser’s address bar using the following format: http://x.x.x.x:yyyy or https://x.x.x.x:yyyy
Where x.x.x.x is the IP address of your Variphy Insight virtual machine and yyyy is the corresponding application port.
By default Variphy uses port 8080 for HTTP connections and 8443 for HTTPS connections, but this may be different for your specific installation.
The default initial credentials for a standard deployment are:
Username: Admin | Password: Admin
The default credentials for a Variphy Insight Virtual Appliance (VIVA) deployment are:
Username: variphyadmin | Password: V@riphy!!
USERNAME AND PASSWORD’S ARE CASE-SENSITIVE
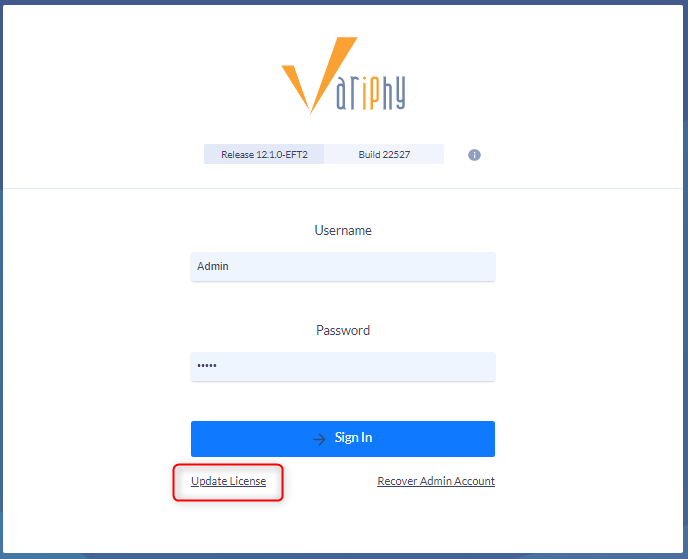
If this is the first time logging in, it is likely that a license file has not yet been uploaded. If this is the case you will need to use the “Update License” link found at the bottom of the login page to upload the license file provided by your Variphy Account Manager.
After you have successfully logged into Variphy we’ll begin by configuring the Enterprise and 1st Clusters.
Rename Existing Enterprise
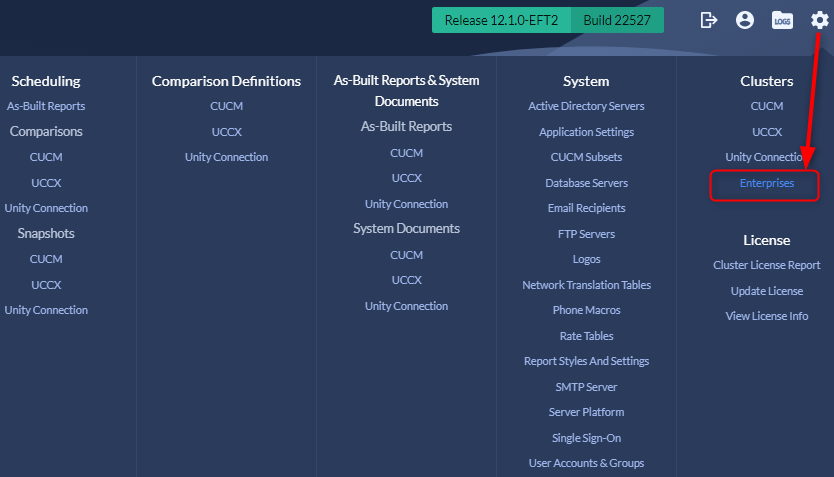
Step 1) Select Enterprises from the Clusters section in the Setup menu.
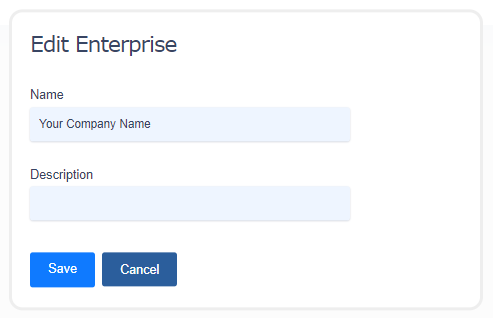
Step 2) Edit the existing Enterprise by clicking the edit icon on the right.

Step 3) Change the default Enterprise Name as desired and if appropriate, enter a Description. Click Save when finished.
1) Configure CUCM Cluster
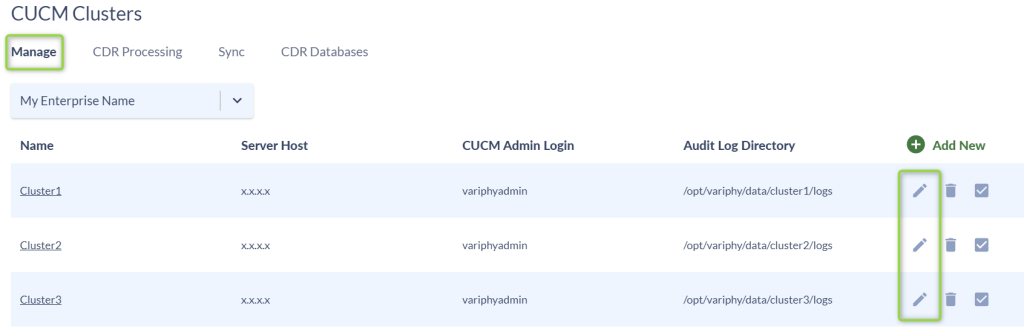
Step 1) Select CUCM from the Clusters section in the Setup menu.

If you deployed from the Variphy OVA/Virtual Appliance, you will see 3 predefined clusters (Cluster1, Cluster2, Cluster3).
You can edit any one of these with your settings (feel free to delete any predefined clusters not used or add more if needed).
Click the Edit button for Cluster1.
If you deployed from a Stand Alone installer, you can click on the Add button to begin configuring a new cluster.
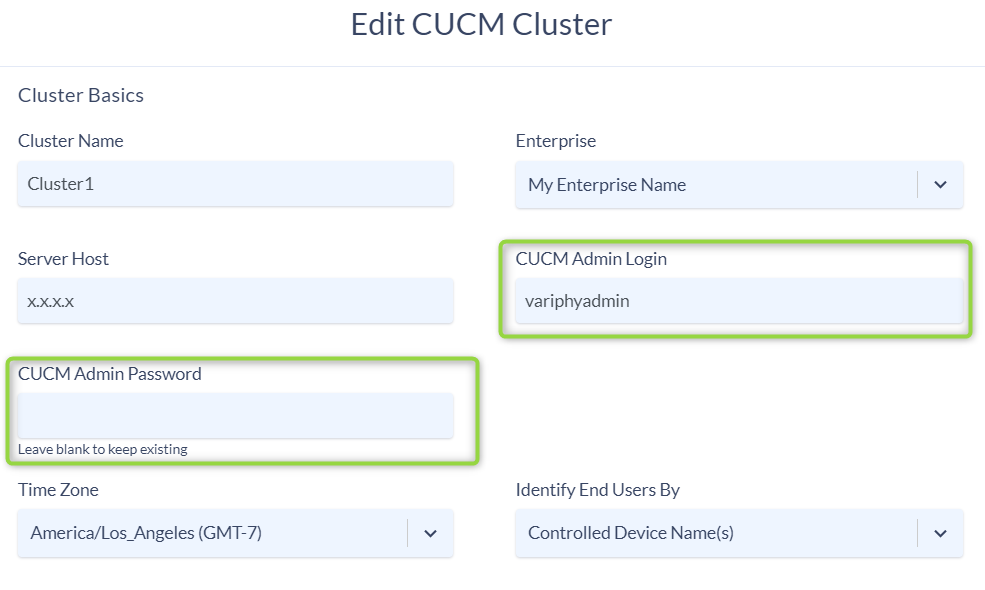
From the Cluster Basics section:
Specify an appropriate Cluster Name and enter the IP address of the CUCM Publisher in the Server Host field.
The CUCM Admin Login predefined “variphyadmin” is the same CUCM Application User configured in the CUCM Prerequisites guide the suggested username in this guide is variphyadmin while the password is V@riphy!!.
Adjust the Default Time Zone if necessary.
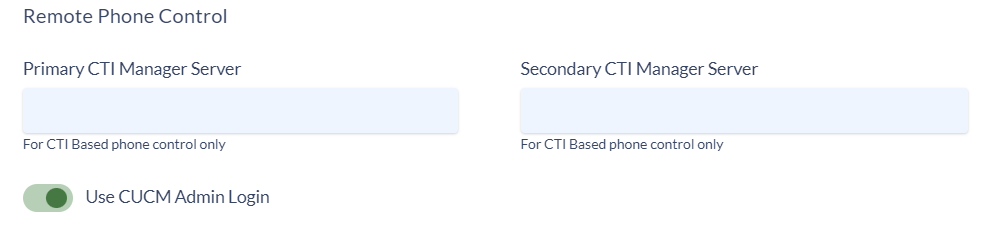
Configure Macros/Remote Phone Control
Click the Use CUCM Admin Login option if only one application user account was created in CUCM, if a second account dedicated to phone control was setup uncheck this box and enter the details in the section below:
Configure Log Analysis
Enter the path where Log Analysis files are located, as well as the purge setting. Click here for detailed instructions on scheduling Audit Logs using RTMT.

After you have finished configuring and have saved the Cluster Basics section Variphy should be able to communicate with your CUCM.
The DN Management, Snapshot and Compare Features should now be accessible.
Step 2) Configure Database Server
For Variphy OVA/Virtual Appliance deployments Database settings are preconfigured, skip to Step 4.
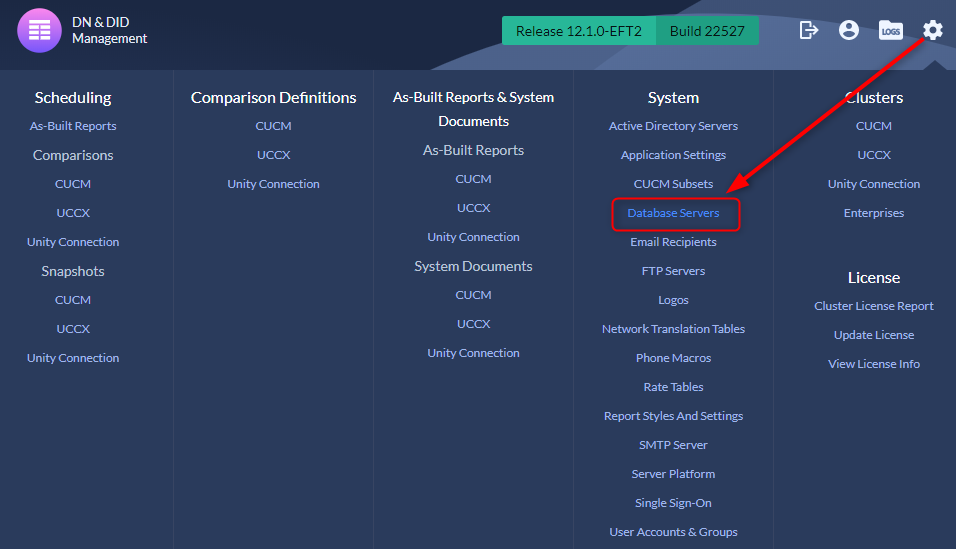
For CUCM CDR Call Analytics we first need to configure a Database Server.
Select Database Servers from the System section in the Setup menu.
NOTE: If you have deployed our Linux OVA, you do not need to configure this step, as the local database server has been pre-configured to work with Variphy. You only need to access this menu if you are switching to an external Microsoft SQL Server, or doing a clean install of Variphy on a Windows server platform.
On the resulting screen, click the Add button to configure a new Database Server.
Enter a Name for your Database server.
Select the desired Database Server Type (MSSQL and MYSQL are supported).
For Server Host enter your DB server name or IP Address.
Define the correct TCP Port (3306 for MySQL and 1433 for MSSQL).
Complete the Authentication Settings initially this account needs sufficient permissions to be able to create a DB for Variphyto use, alternatively an empty DB can be manually created within MySQL or MSSQL.
If a DB already exists the account defined here can have limited permissions to read and write to the existing DB.
Click the Save button when finished.

Step 3) Configure CDR Processing settings.
For Variphy OVA/Virtual Appliance deployments the default processing settings are preconfigured, skip to Step 4.
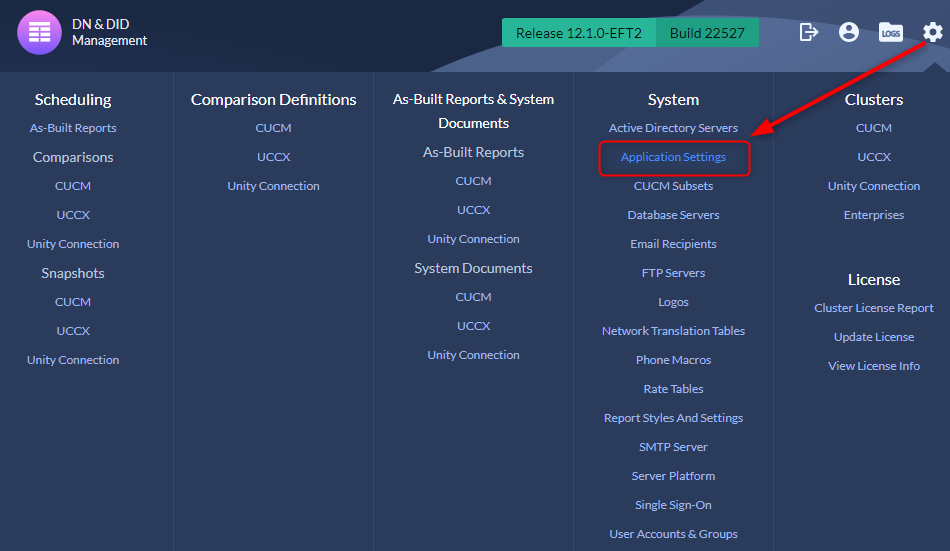
Select Application Settings from the System section in the Setup menu.
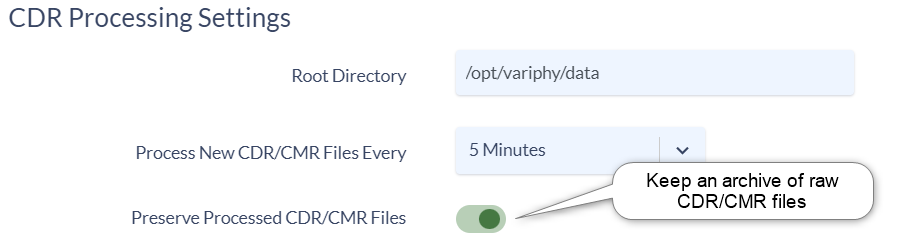
Specify Root Directory of (S)FTP server used by CUCM Billing Application Server.
Define the desired processing frequency in the Process New CDR/CMR Files Every field.
Enable or disable Preserve Processed CDR/CMR Files flag.
Step 4) Configure CDR Processing
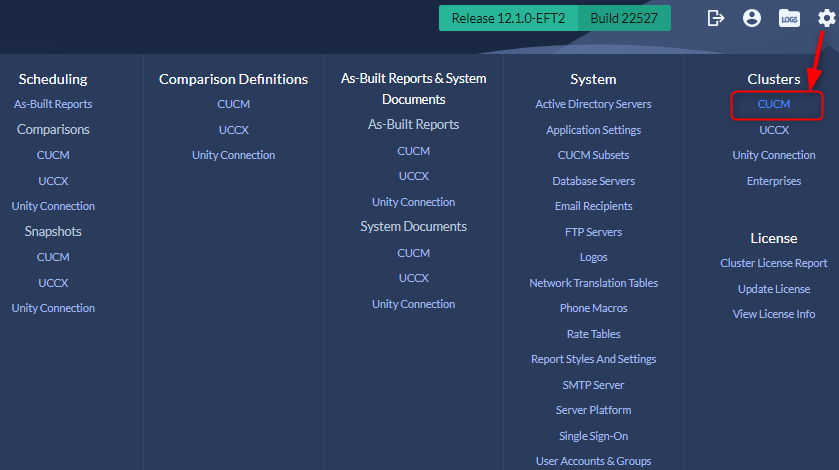
Select CUCM from the Clusters section in the Setup menu.
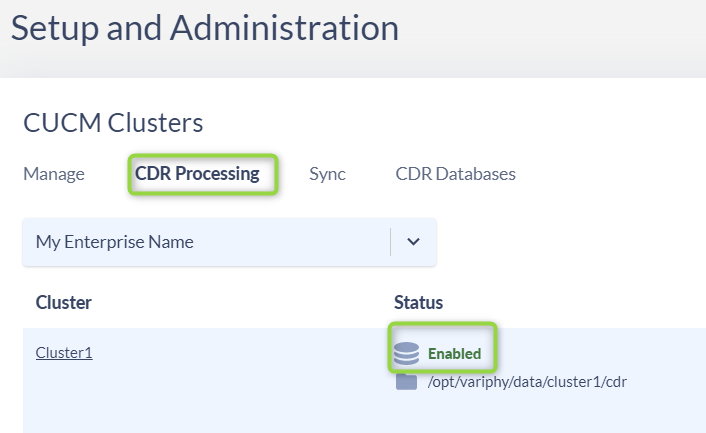
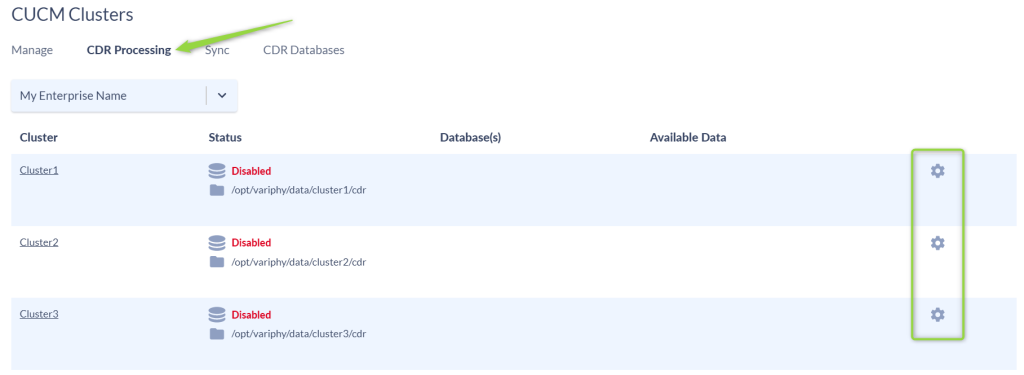
Navigate to the CDR Processing menu and Edit the cluster you are configuring.
From the CDR Processing Basics section:
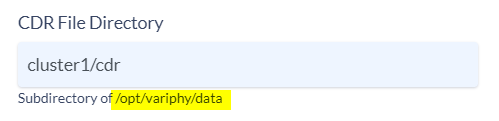
CDR File Directory has a prefixed path, this is the same path defined in the previous step in this guide. The free-form text area allows you to enter the specific folder used by the CUCM Billing Application server for this cluster and is also part of the configuration defined in the CUCM Prerequisites guide.
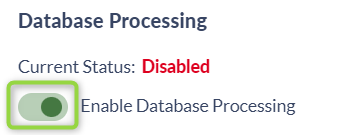
The Data Processor Status will be disabled by default. Enable the Data Processing toggle.
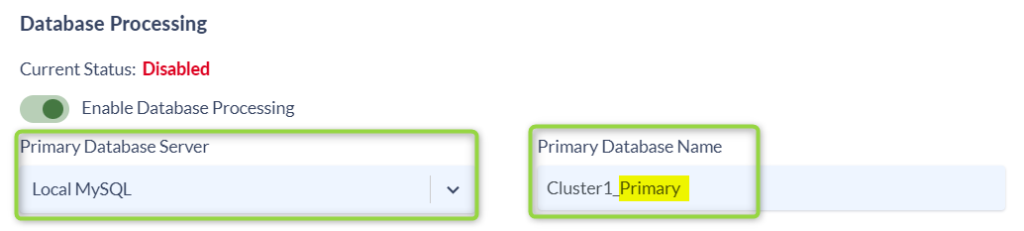
Once data processing is enabled select your Primary Database Server from the drop down. If you are using the default Variphy OVA configurations there will only be one option, select that. If you’ve configured an alternate Database Server (Step 2 above) select that as your primary database server.
The Primary Database Name field allows you to specify a unique DB name for the cluster. Give your Primary database a name. It is recommended to append “_primary” to the database name. When specifying the database name, ensure there are no spaces or hyphens/dashes (“-“) as those characters are not supported by database servers.
Database Archiving Setup
Often times you are required to store large amounts of call data resulting in millions of call rows in a single database. Housing large amounts of call data in a single database can be resource intensive when your day to day reporting requirements are usually only one, two or three months of call data.
Variphy 13.0 introduced the ability to support multiple databases within a single cluster. Variphy’s Auto Archiving feature provides functionality to automatically create “Archive databases” that house less used call data, freeing up valuable resources in your Primary Database for your day to day reporting but leaving the archived data available for seamless reporting only when needed.
If you are not using Automatic Archiving at this time, skip to the Primary Database Purge Settings configurations.
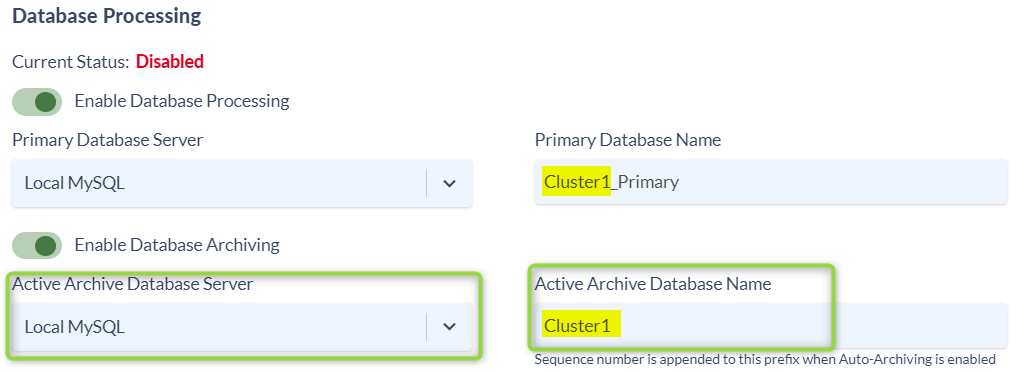
Toggle on Enable Database Archiving
Select the Active Archive Database Server from the drop down. – This will be the database server the Archives will be stored. It is often recommended to store Archives on a server separate than the Primary Database Server, but it is not a requirement. To add a second Archive Database Server refer back to Step 2.
The Active Archive Database Name field allows you to specify a unique DB name for the Archive Databases. Give your Archive database a name. It is recommended to use the same database name as the Primary Database but NOT appended with “_primary”
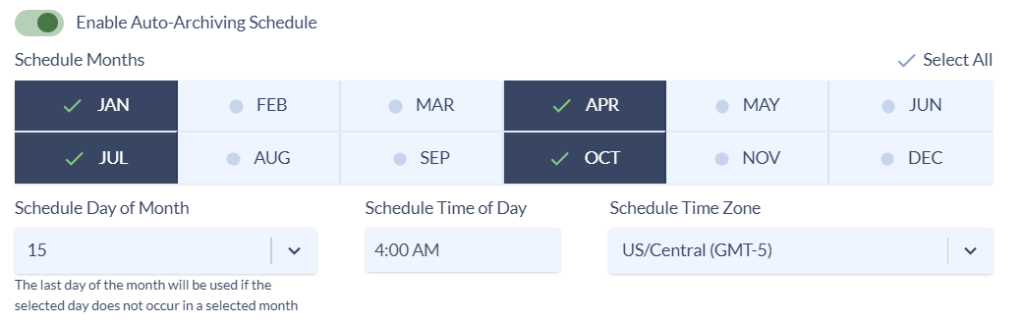
Toggle on Enable Auto-Archiving Schedule
Select the Months, Day of Month and Time of Day the Archive will create a new database and archive the previous Active Archive. This schedule determines the date ranges contained within each Archive Database.
In the example below I will create 4 archive databases a year, each database containing the previous 3 months of call data.
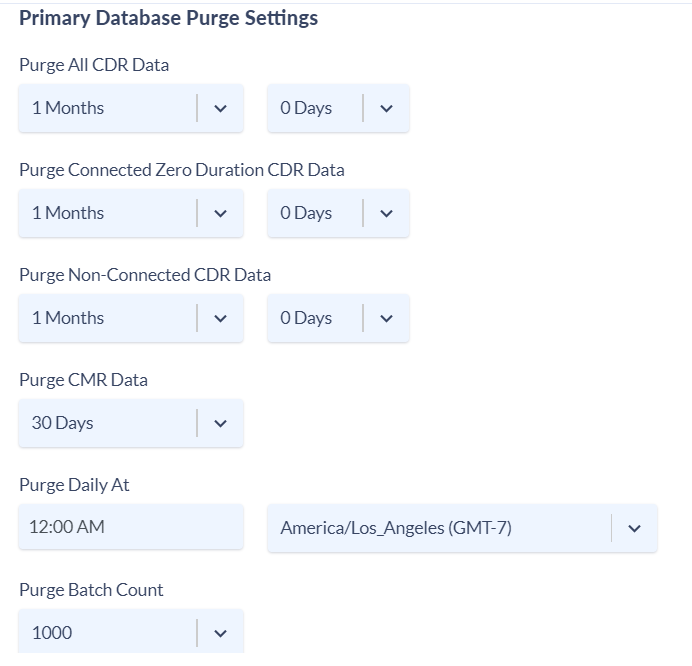
Primary Database Purge Settings
Adjust your Primary Database Purge Settings based on your company requirements. If using Auto-Archiving it is recommended to keep your primary database smaller for day to day operations while your Archive Databases retain long term storage.
Save & Continue to save your changes.
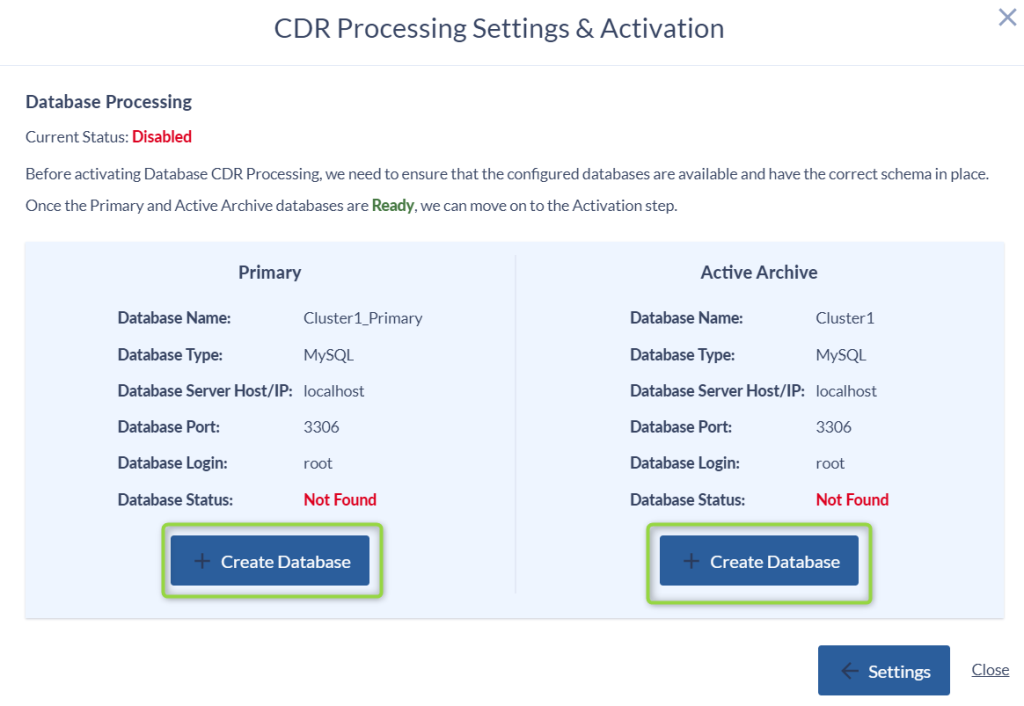
Click Create Database on both the Primary and if applicable the Archive Database.
Click Activate once the database(s) have been created.
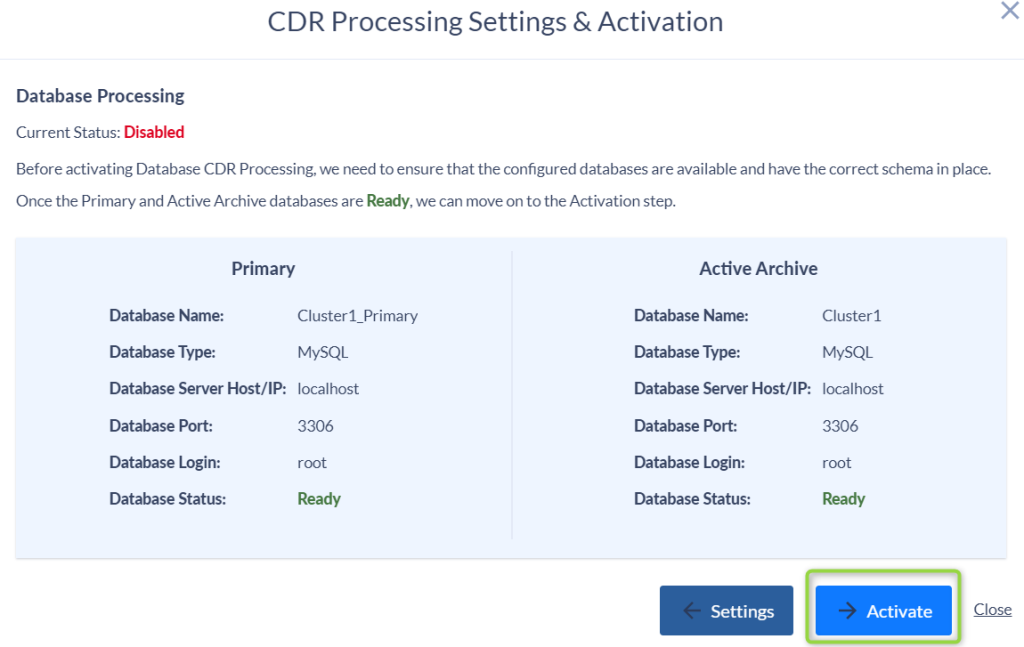
Click Close once CDR processing is activated
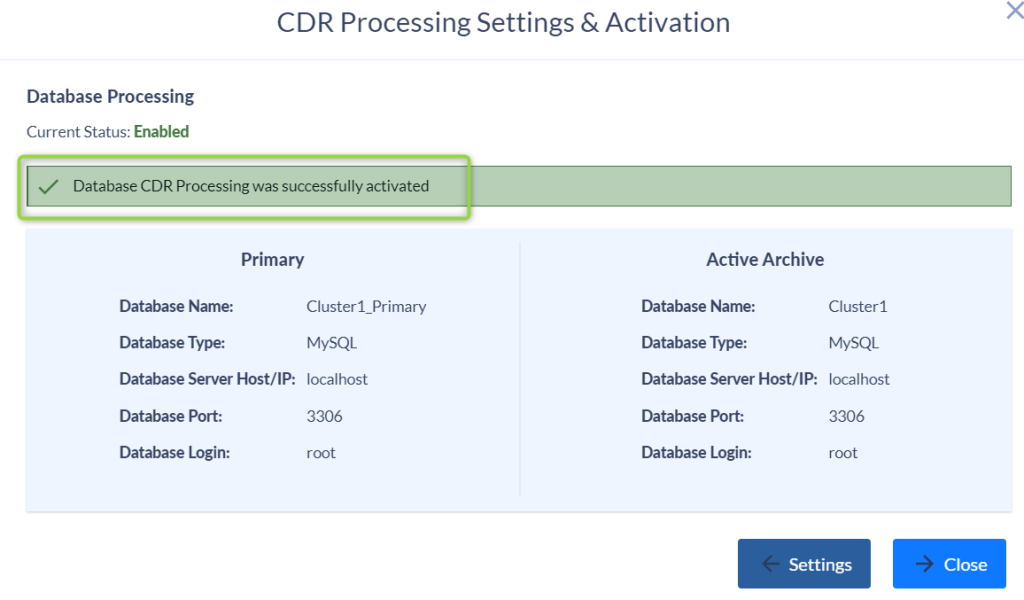
The Status will now show Enabled and you are ready pt process and report call data.